Create android app that demonstrates working with TextView elements.
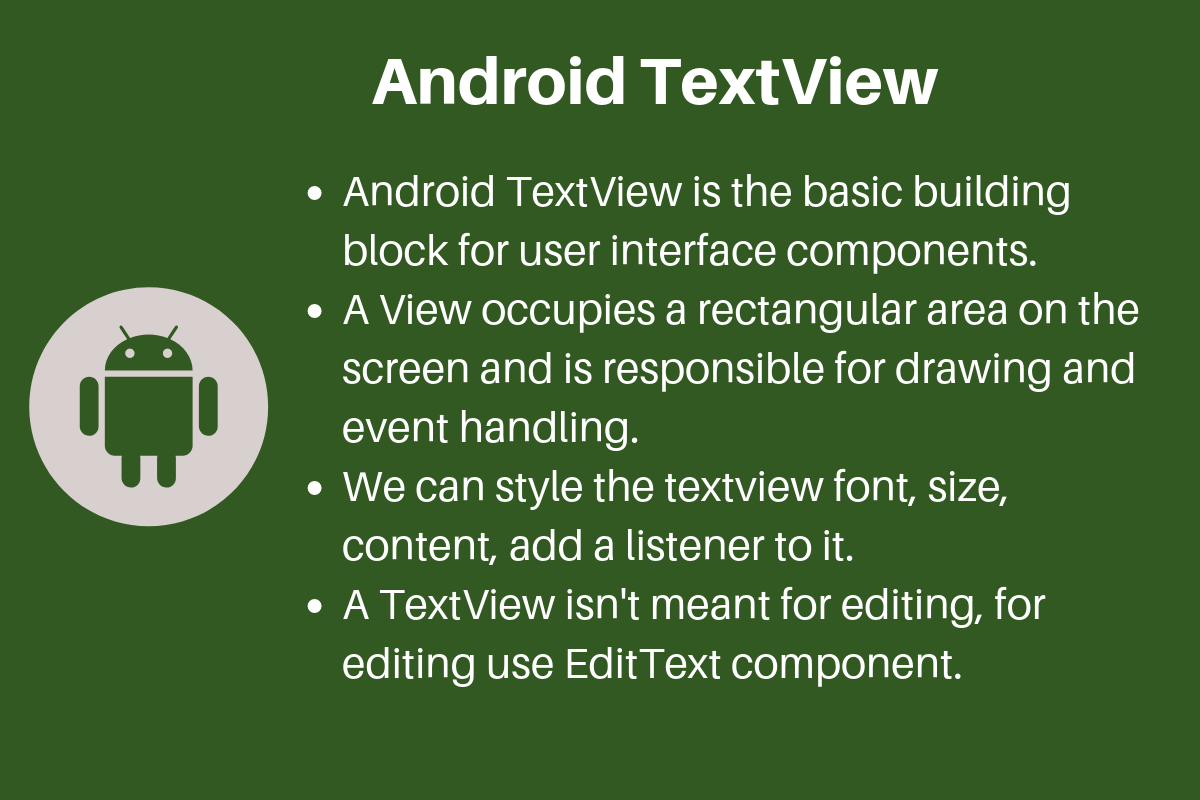
In this tutorial we will see some TextView properties to create custom TextViews in android. We are going to use three TextViews and will apply different styles to them in this project.
Step 1:create new project in android studio
==>new ==>new project ==>select EmptyActivity
==>click next ==>finish

Step 2: Open activity_main.xml file and paste below
code.
<?xml
version="1.0" encoding="utf-8"?>
<LinearLayout xmlns:android="http://schemas.android.com/apk/res/android"
xmlns:app="http://schemas.android.com/apk/res-auto"
xmlns:tools="http://schemas.android.com/tools"
android:layout_width="match_parent"
android:layout_height="match_parent"
android:gravity="center"
android:orientation="vertical"
tools:context=".MainActivity">
<TextView
android:id="@+id/tv_1"
android:layout_width="match_parent"
android:layout_height="wrap_content"
android:textColor="#F30404"
android:textSize="30sp"
android:gravity="center"
android:textStyle="italic"
android:text="Text 1"/>
<TextView
android:id="@+id/tv_2"
android:layout_width="match_parent"
android:layout_height="wrap_content"
android:textColor="#68F304"
android:textSize="35sp"
android:gravity="center"
android:textStyle="bold"
android:text="Text 2"/>
<TextView
android:id="@+id/tv_3"
android:layout_width="match_parent"
android:layout_height="wrap_content"
android:textColor="#0C04F3"
android:textSize="45sp"
android:gravity="center"
android:textStyle="bold"
android:fontFamily="cursive"
android:text="Text 3"/>
</LinearLayout>
Step
3: no need to make any changes in MainActivity.java
file.
Step
4: Run the project on emulator or device directly.
Output:


Great
ReplyDeleteNice...👍
ReplyDeleteGreat 👍
ReplyDelete👍
ReplyDeleteBravo...✌️✌️
ReplyDeleteThnq
DeleteGreat
ReplyDeleteMast
ReplyDeletegreat
ReplyDeleteVery helpful mam, thank you a lot!!!
ReplyDelete